Implementing Authentication in an ASP.NET Core application using Azure Active Directory.
In an on premise world, there are different ways of implementing Authentication and here are some of the scenarios
-
In an Windows world typically you host your site on a WebServer like IIS and you enable Windows Authentication schemes like Kerberos or NTLM for an in house applications (intranet sites). The Windows Subsystem (LSAS) talks to the on premise Active Directory (Domain Controllers) to implement these Authentication Protocols.
-
The above mechanism requires users to be present in the Active Directory but if you need to sign in with your own custom users then the other approach is to use asp.net membership provider which provides facility to create new users and store them in Database like SQL. So, now any non-domain user can use the site and services.
Imagine you access ten different public sites and you have ten different usernames and passwords to remember. It’s a tedious Job to remember all different usernames and passwords. If you happen to use same password across all sites and if the password gets hacked then you are in trouble!
Today Social Login is a buzzword which is completely different than our traditional authentication process. This approach integrates applications with third party providers like Facebook ,Twitter ,Google to provide the Single Sign on Experience.
The Azure Active Directory [AAD] provides different Services and one of them is the Identity Management. The AAD provides both options of authenticating an user against domain user and also can help you to easily integrate your application with social login providers (facebook,gmail etc)
To begin with, you need to create an Azure Active Directory B2C ( Business to Consumer) Connect which is basically the Cloud Service which implements OpenID Connect authentication protocol on top of OAuth 2.0. In this Example we will use Visual Studio 2017 to quickly create an asp.net core application and enable Azure Active Directory Based Authentication
Step 1 : Create the Active Directory b2c Connect using the steps outlined here https://docs.microsoft.com/en-us/azure/active-directory-b2c/active-directory-b2c-get-started
Step2:
Create an asp.net core project targeting .net Framework
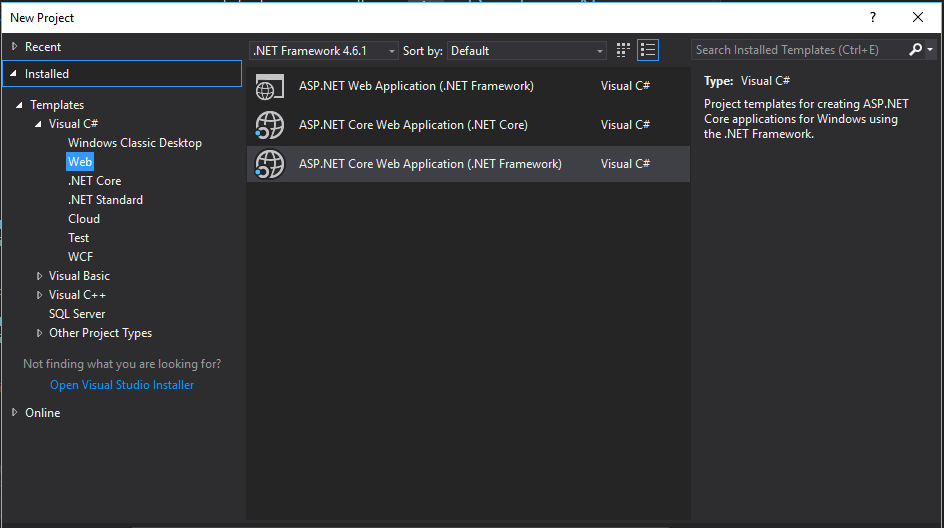
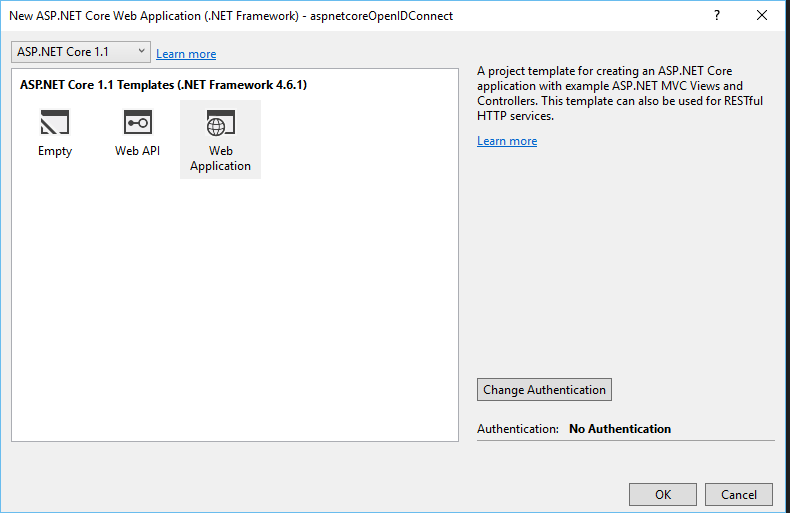
Now, Select Web Application and Click on Change Authentication
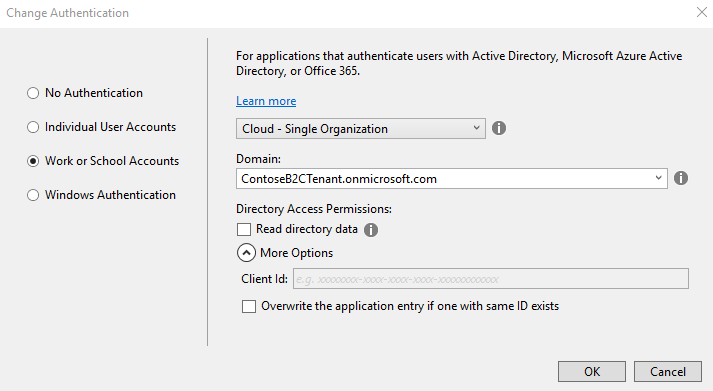
Now, Select Work or School Accounts. (Make sure you are using the same account used for azure portal to login to Visual Studio). You will see the b2c tenant listed here (in the Domain Text box) that you created in the step1. Now press OK
Here are some of the things that happens to your MVC project behind the scenes
-
It adds references to Couple of Nuget Packages “Microsoft.AspnetCore.Authentication.Cookies” and “Microsoft.AspnetCore.Authentication.OpenIdConnect”
-
The ConfigureServices and Configure method inside Startup.cs are updated to inject the Middleware to perform openId Authentication


-
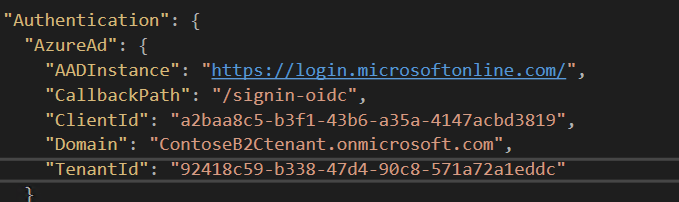
The above method reads some of the settings like ClientID, TenantId which are also updated in the appsettings.Json file
-
The ClientID is the unique ID generated for each of the application that you register under that tenant. You can also manually create the ClientID by going to the azure portal and selecting the application settings for that tenant.
-
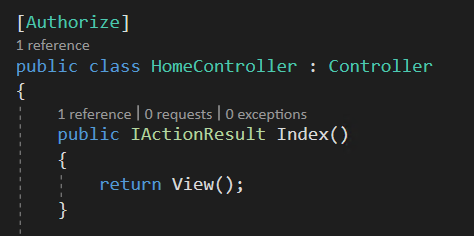
The HomeController is decorated with Authorize attribute that will force the user to perform Authentication
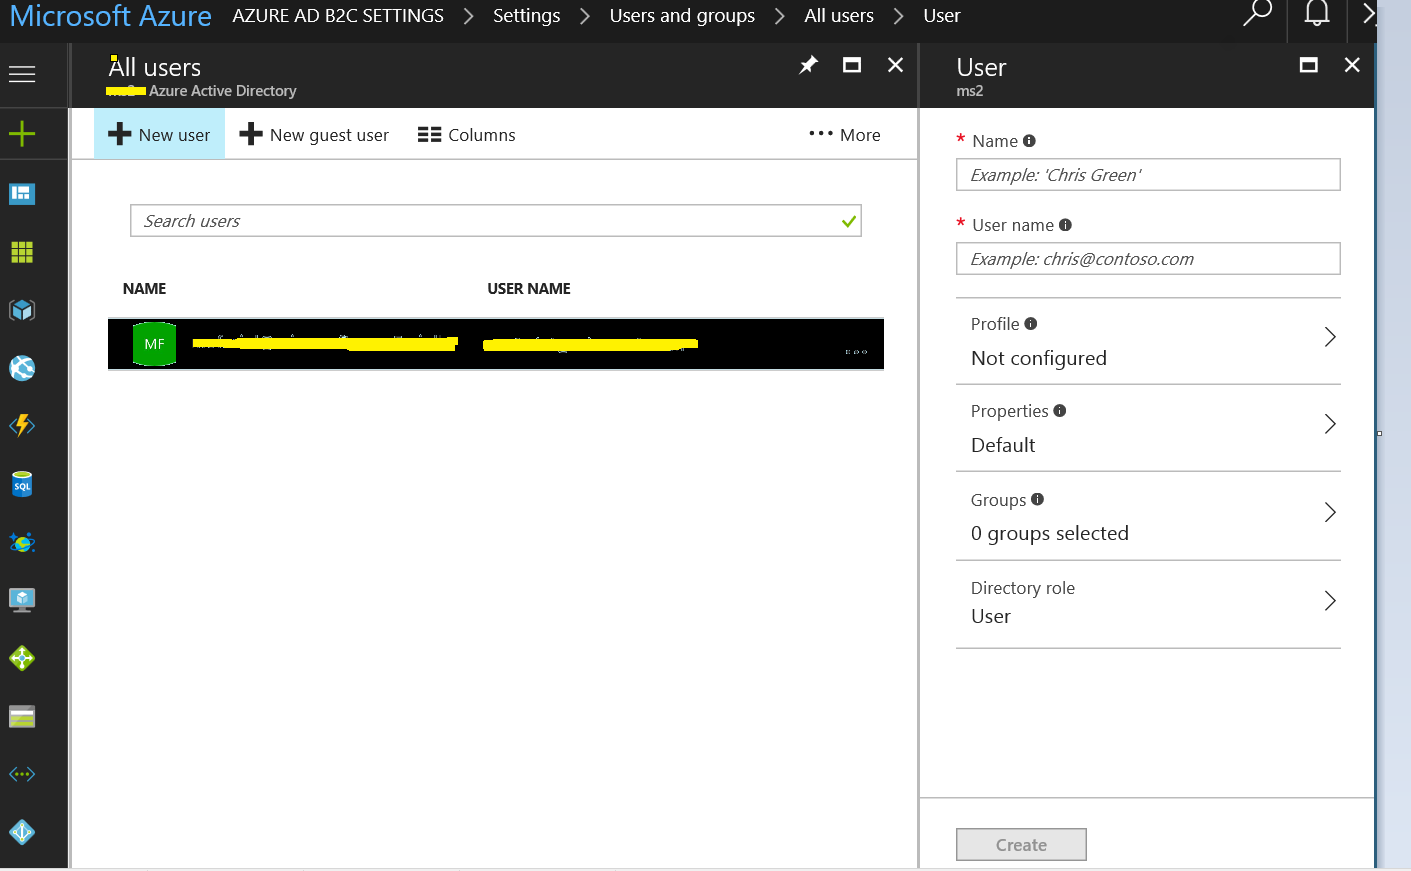
Now to test the authentication you should create an user on the azure portal for that specific tenant that you created. Here is the snapshot of that flow
Now go ahead and launch the default site of your site and it should take you to the login page on which you can enter the newly created user and password. Once the user is authenticated you should see the Home/Index page loading with the username listed.